Key Takeaways
- Start with the reader’s task, skill level, and working environment.
- Break complex processes into short steps with one main action each.
- Use headings, lists, visuals, and white space to make information easy to scan.
- Include checklists, examples, and troubleshooting help for repeat use.
- Test the draft with real users, then maintain it with a clear update process.
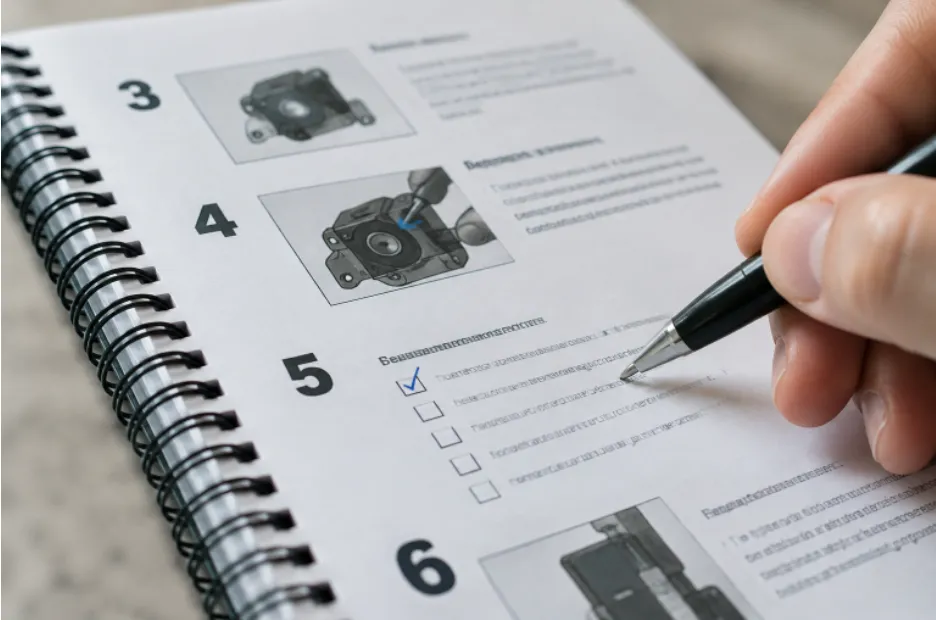
An instruction manual earns its place when it helps a person complete a task without unnecessary guesswork. Whether it supports equipment setup, employee training, classroom work, or a repeatable office process, the goal is the same: make the next action obvious. A printed spiral bound booklet can be especially practical when users need to keep pages open, make notes, and return to procedures often.
Useful manuals are designed around real conditions, not just the information an organization wants to store. Readers may be busy, unfamiliar with the process, wearing gloves, switching between tasks, or looking for one answer quickly. Clear language, logical page structure, helpful visuals, and regular testing turn a document into a tool people will actually use.
Why Some Manuals Get Used, And Others Get Ignored
A manual is not useful simply because it contains all available information. It must help a reader find the relevant information at the moment they need it. Consider a new employee who needs to confirm one safety step during a busy shift. A long introduction, unclear heading, or unlabeled image creates delay. A strong manual reduces that friction by showing what to do, what to check, and what success looks like.
Step 1: Define The Reader And The Task
Before drafting, identify the primary reader. Note their experience level, the tools they can access, the setting where they work, and the questions they are likely to ask. Then list the tasks the manual must support. Separate essential actions from background context. A beginner may need definitions and examples, while an experienced technician may need a short reference checklist. Trying to serve every audience with the same level of detail can make instructions harder for everyone to use.
Step 2: Build A Simple Content Map
Create the structure before writing full pages. A practical manual often begins with a cover, quick-start page, and table of contents. Follow those with required tools or materials, safety notes, procedures, checklists, troubleshooting guidance, common questions, and a glossary when specialized terms are necessary. This map exposes missing sections early and keeps related information together rather than scattering it throughout the document.
Step 3: Write Instructions That Are Easy To Follow
Use short sentences, familiar words, and active verbs. Begin steps with direct language such as “check,” “connect,” “record,” or “review.” Give one main action per numbered step, especially when sequence matters. Define technical terms the first time they appear, and replace vague wording with observable details. Instead of saying “adjust as needed,” identify what to adjust, the acceptable result, and what to do if the result is not achieved.
Show The Expected Result
After a major stage, tell readers how they can confirm they are on track. For example, explain what appears on a display, how a completed form should look, or which condition indicates that a setup is complete. This helps readers catch errors before they continue.
Step 4: Use Visuals With A Clear Purpose
Use photos, diagrams, screenshots, and illustrations when they clarify a tool, control, part, position, or finished result. Add arrows, labels, callouts, and captions so the reader knows exactly where to look. Keep the visual style consistent from page to page, and avoid decorative images that do not support the task. Always review visuals at their final printed or on-screen size to ensure labels remain readable.
Step 5: Design Pages For Fast Reference
Give each page a predictable structure with descriptive headings, visible step numbers, page numbers, and clear section labels. Keep related steps on the same page when possible, and use bulleted lists for checks, comparisons, measurements, or decisions. Leave room for notes if readers must record results. For digital versions, clear headings and concise instructions help readers understand structure and move quickly to the information they need.
Step 6: Plan For Print And Digital Use
The final format should influence the layout from the start. A manual used beside equipment may need larger type, durable pages, and space for handwriting. A digital manual should be searchable, easy to navigate, and readable on smaller screens. Use the same section names and procedure titles in both formats so a reader can move between them without having to learn a second system.
Step 7: Add Safety And Risk Information Carefully
Put urgent warnings immediately before the related action, not in a distant section readers may skip. Clearly distinguish warnings, cautions, and helpful tips. Explain the possible consequences of skipping a safety-critical step, then have qualified reviewers examine the material before release. In workplace settings, a proactive process for identifying and addressing hazards aligns with safety and health program practices that emphasize preventing problems before they cause harm.
Step 8: Add Worksheets, Checklists, And Practice Tasks
A manual becomes more useful when readers can apply the process as they learn it. Add checkboxes for repeat tasks, short review questions after complex sections, and realistic scenarios that reflect actual work. Include sample entries beside forms or logs so users understand the expected level of detail. These supporting pages also make it easier for supervisors or trainers to confirm that a process was completed.
Step 9: Test The Manual With Real Users
- Give the draft to someone unfamiliar with the process.
- Ask them to complete a task without coaching.
- Observe where they pause, skip a step, or ask for clarification.
- Determine whether the issue comes from wording, sequence, layout, or missing information.
- Revise the manual and test it again with another user.
Common Problems To Fix Before Publishing
- Too much background information before the first actionable step.
- Long paragraphs that hide the key action.
- Different names for the same tool, part, or process.
- Small, unlabeled visuals and warnings placed too late.
- Instructions that assume knowledge the reader may not have.
- Outdated screenshots, examples, policies, or procedure details.
How To Keep The Manual Current
Assign ownership to one person or team, add a version number and review date, and collect recurring questions from users. Review sections whenever tools, products, policies, or procedures change, with extra attention to high-risk content. Replace outdated instructions rather than layering corrections onto old pages. A well-maintained manual stays trustworthy because readers can rely on it as the current source of direction.
Conclusion
The best instruction manuals are built around real behavior. They help people locate the right answer, complete the next step, recognize success, and recover when something goes wrong. Clear writing matters, but page design, purposeful visuals, practical exercises, user testing, and regular updates matter too. When those elements work together, the manual becomes a dependable working tool instead of a document that sits unused.

Ava Mitchell turns celebrity facts into smart, scroll-worthy stories at Star Ledger Pro, backed by 3 years of experience.